I’ve never counted how many journals I’ve made so far, but I’m pretty sure there are at least 100! This “right triangle” (if I recall my geometry correctly) pocket style is my absolute favorite to use. From experience, I know that this style is the most secure and holds quite a bit. Sure I have seen tutorials about gluing your pockets to your pages, but sewing them makes more sense to me.
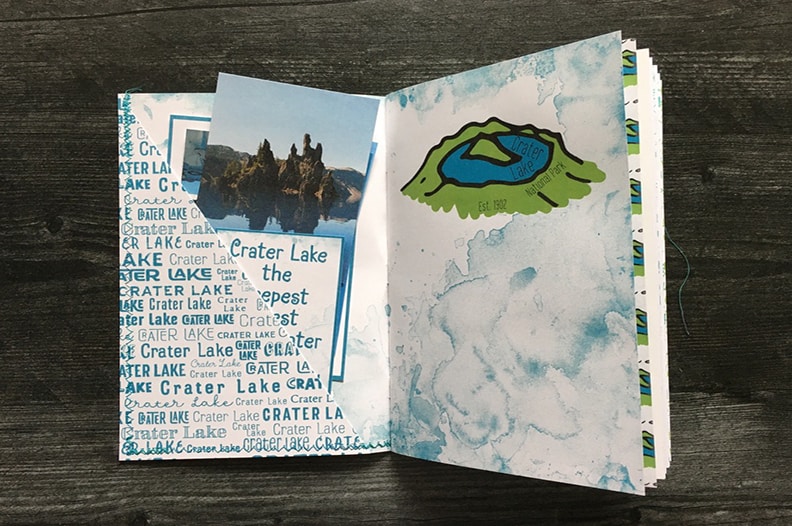
Here’s an example of a hand-sewn pocket that is secure and can hold lots of photos and journaling cards. This particular journal is Crater Lake National Park and is from the National Park series.
The directions apply for journals that are printed on US letter-sized paper and then folded…like all of the Memorable Journals sold in the shop. First, print up a page that you want your pocket design to be. Preferably on cardstock. Usually, I attach the pockets to the back of the outside cover (as shown above). You could certainly add pockets to other pages inside if you have lots of memorabilia to hold! Then cut as pictured below.
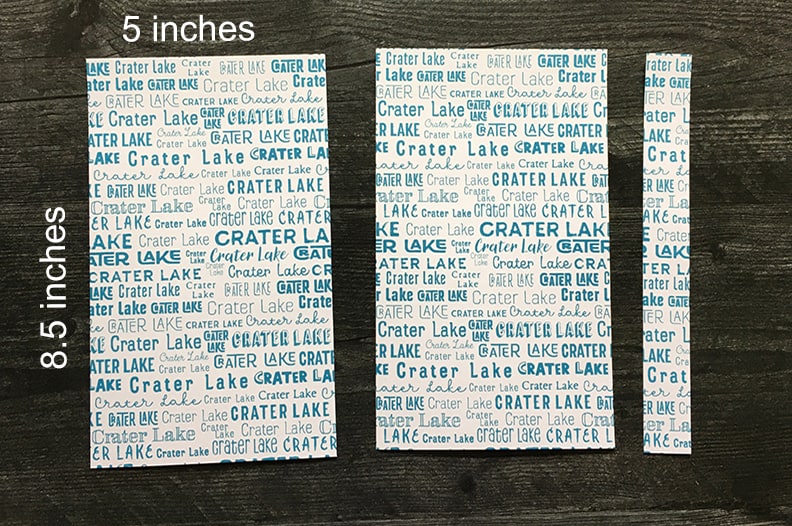
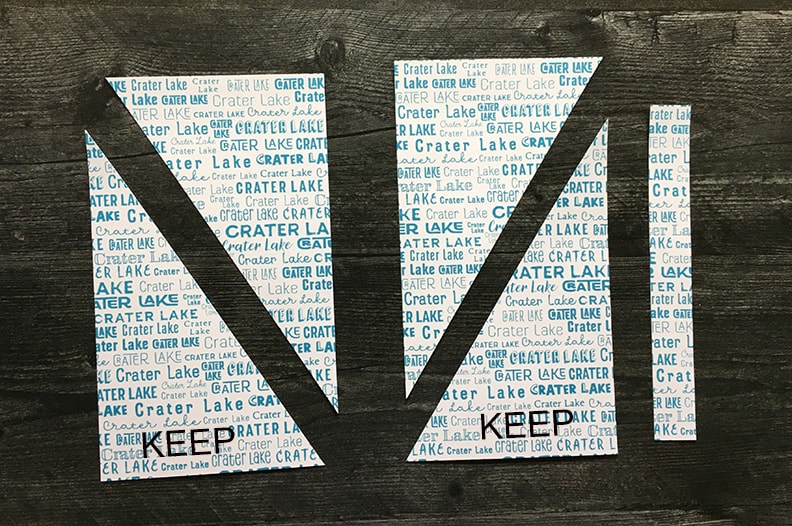
Now cut into right triangles. Be sure to cut at the correct angles as pictured below! If you are using a pattern that can be turned upside down, you would be able to use all four triangles rather than just two of them.
Position the two pockets for sewing. I recommend using paper clips.
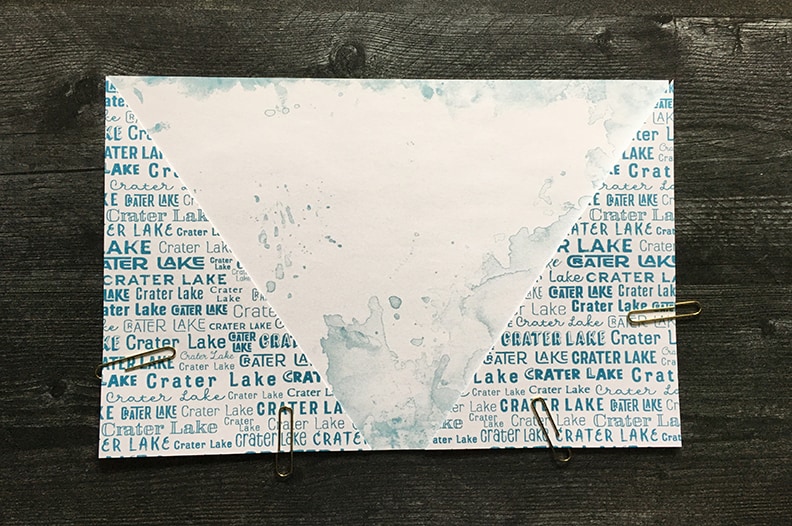
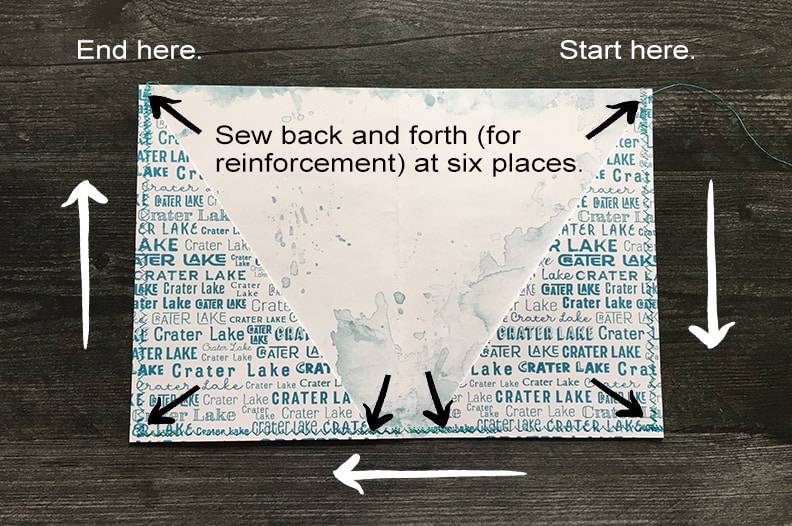
Now sew along the three edges. While sewing along the edges, sew back and forth at the six places shown below to make the pockets secure!
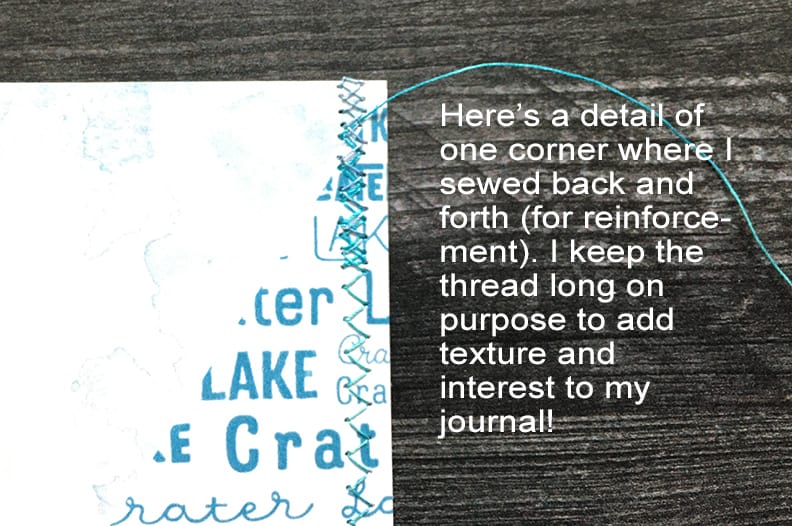
Here’s a closeup.
Now you’re ready to add the inside pages and staple…have fun with your awesome journal!